Use this additional feature to create events and assign contacts
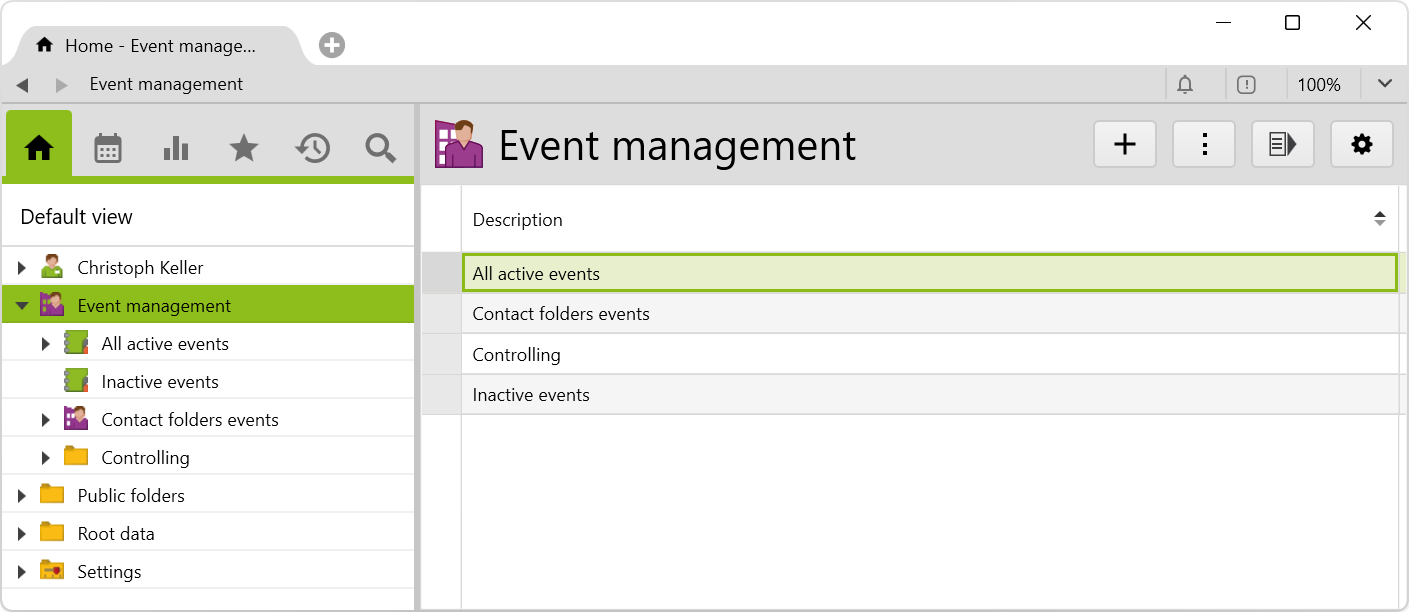
This additional feature helps you to plan corporate events, to manage leads, participants and cancellations, and to evaluate events and charge them. The config set automatically creates the required folder structures.
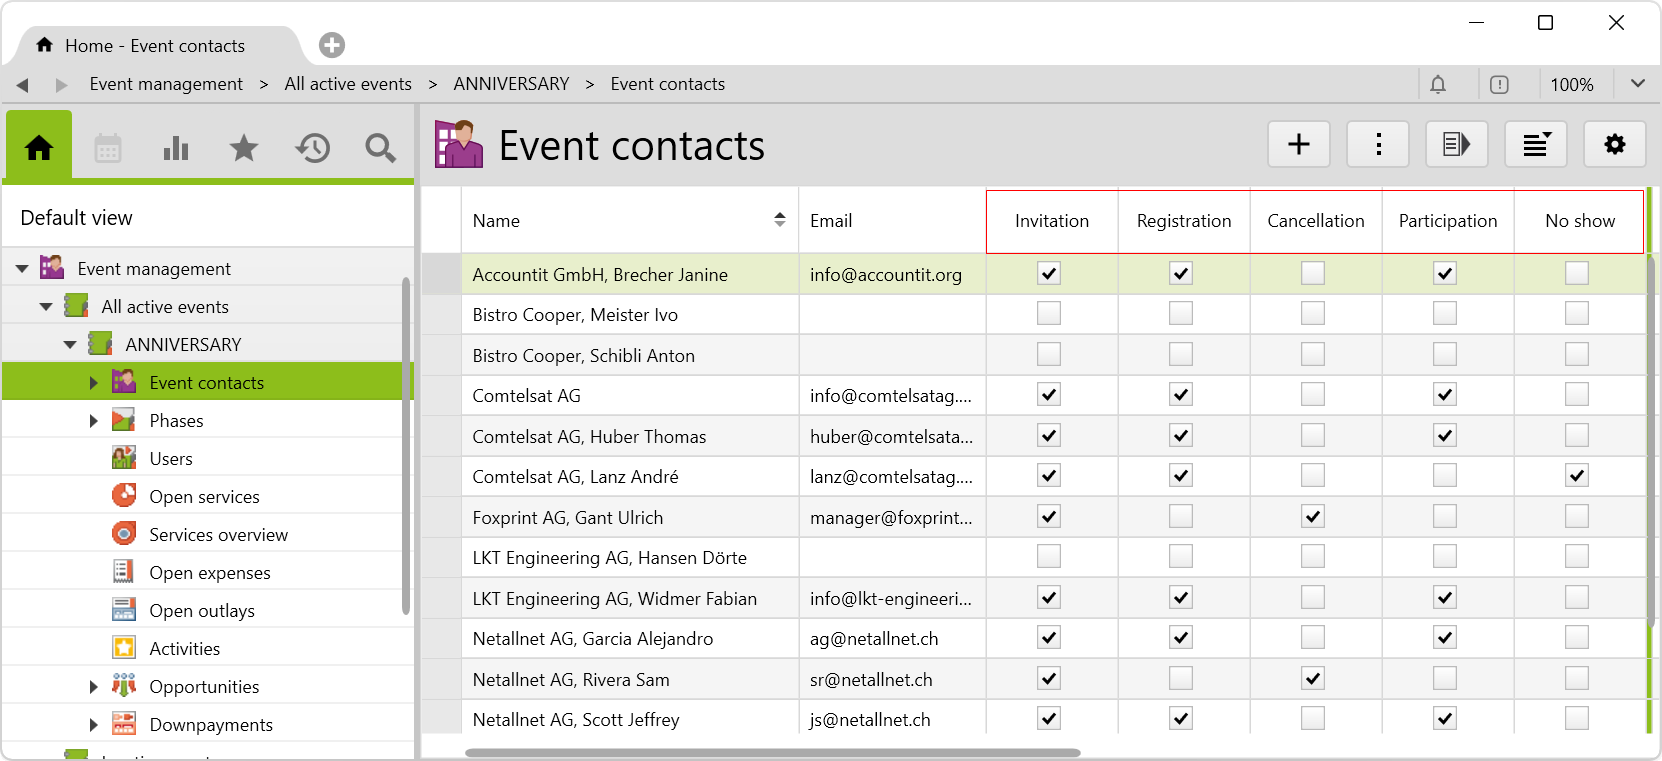
The management of the different statuses of the contacts is clearly arranged: A checkbox can be used to differentiate between the invitation, registration, cancellation, participation, or no show. Participation fees can be easily invoiced with the included invoice report.
This application is an additional feature. You can find the corresponding config set here.
To generate a new event, you have to create a project and select the Event project type. This opens the Event management section on the Further information page:
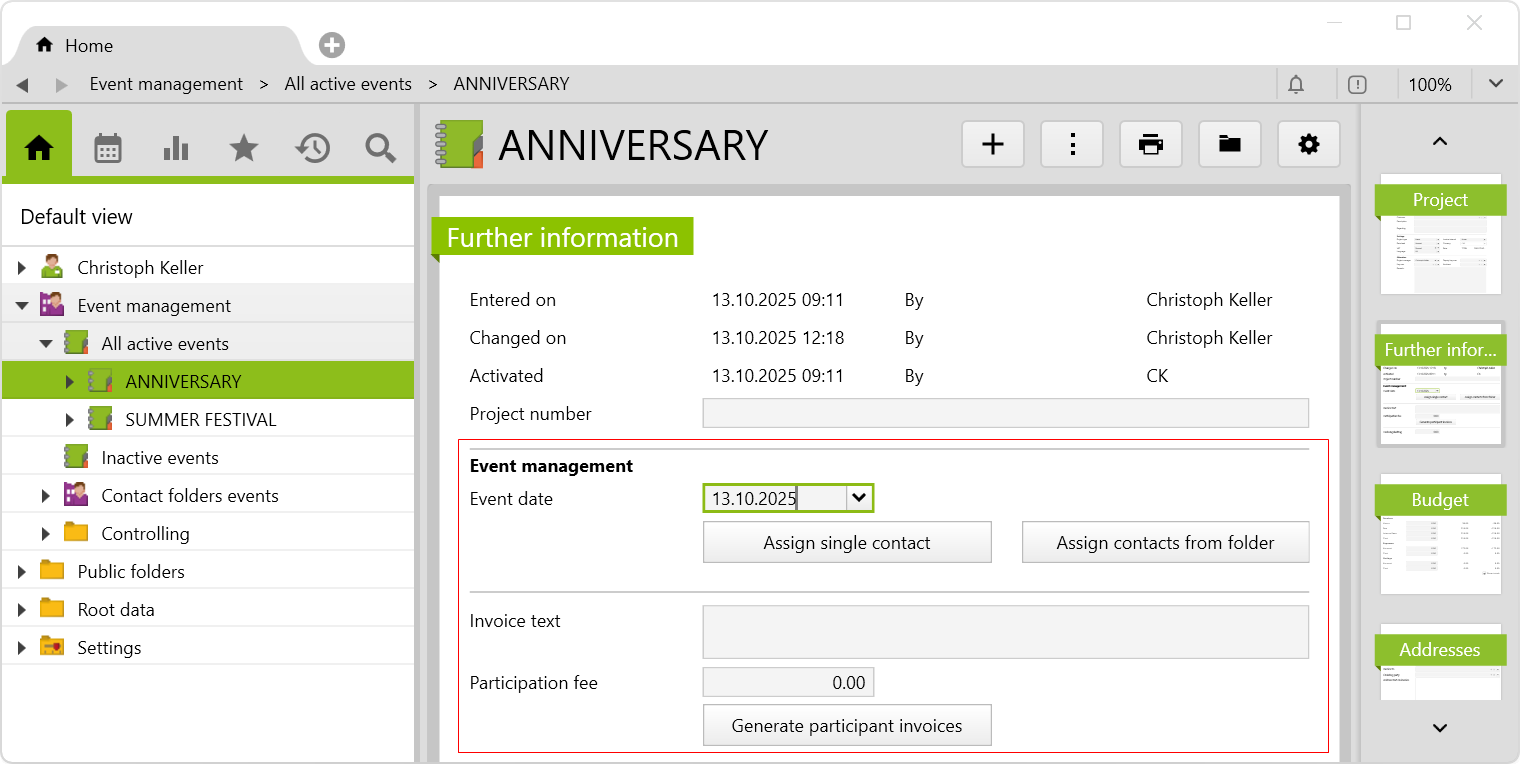
You can enter the event date and assign the event contacts individually or from a folder.
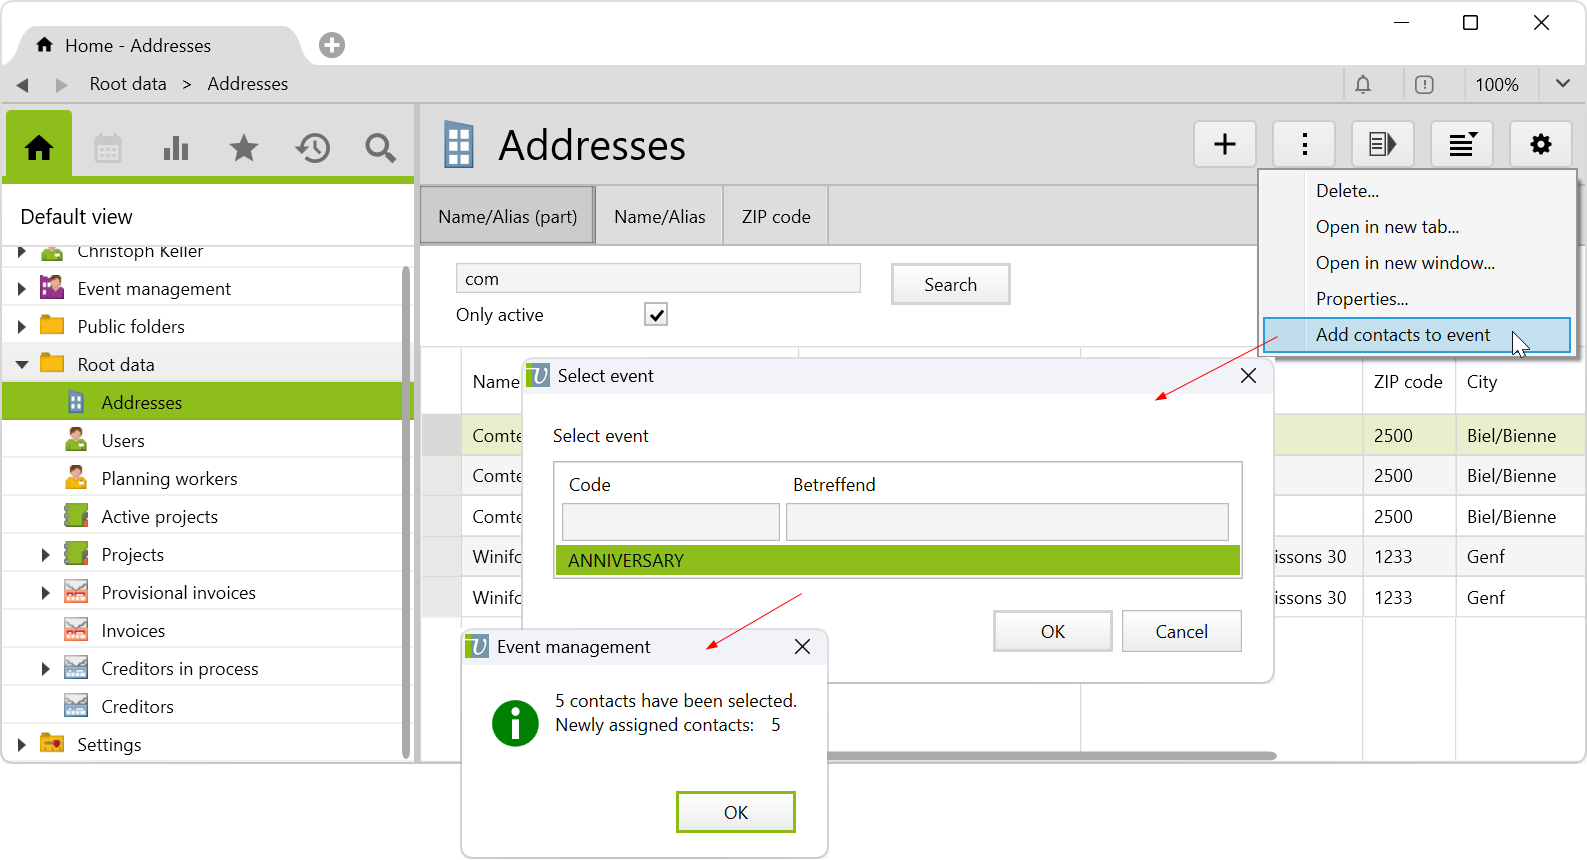
Contacts can be assigned on the Further information page of the event by using the Assign single contact button. Or you can assign a list of contacts via the Actions menu in the Adresses folder > Add contacts to event.
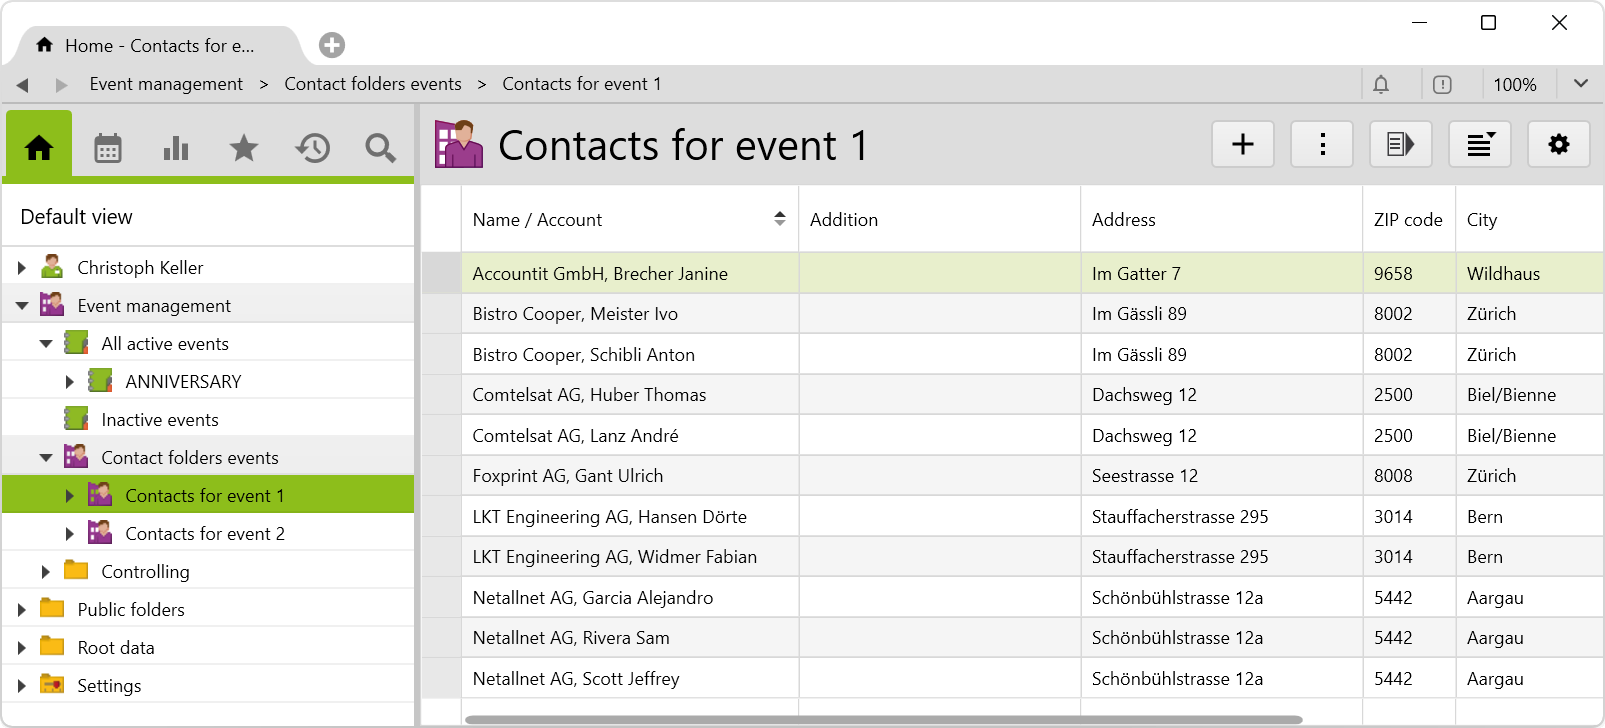
To assign contacts from a folder, they must first be added to Event management > Contact folders events.
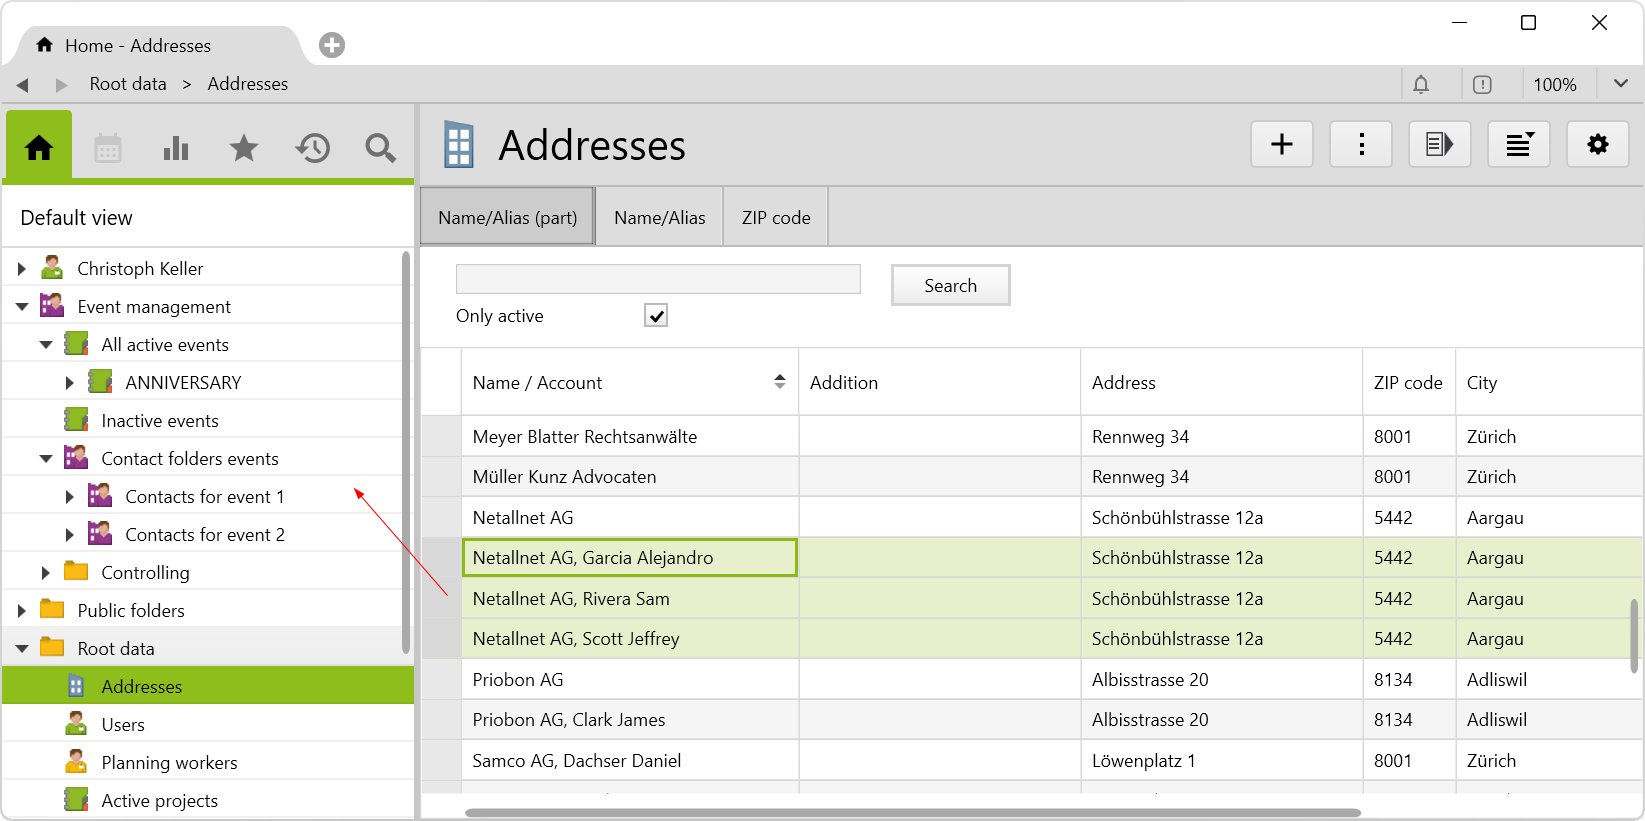
Two contact folders are already created by default. Only usual folders can be used as contact folders.
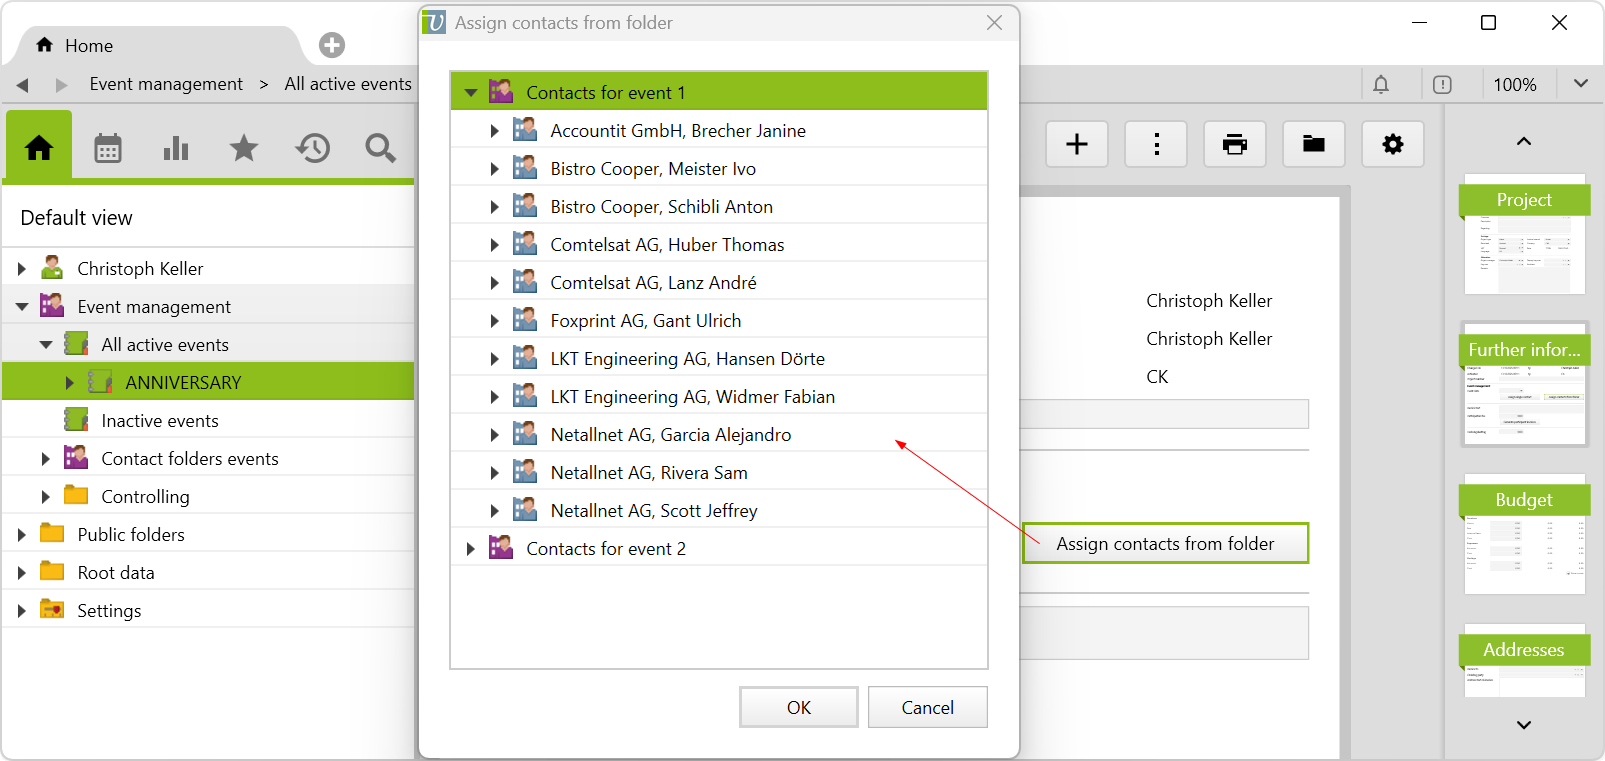
On the project, you can now access the contact folder by clicking on Assign contacts from folder on the Further information page. This assigns all contacts in the selected folder to the event:
An object is created for each event contact, and one of five different statuses can be assigned to it using the checkbox:
Once a checkbox is ticked, a relevant activity is created with the assigned addresses:
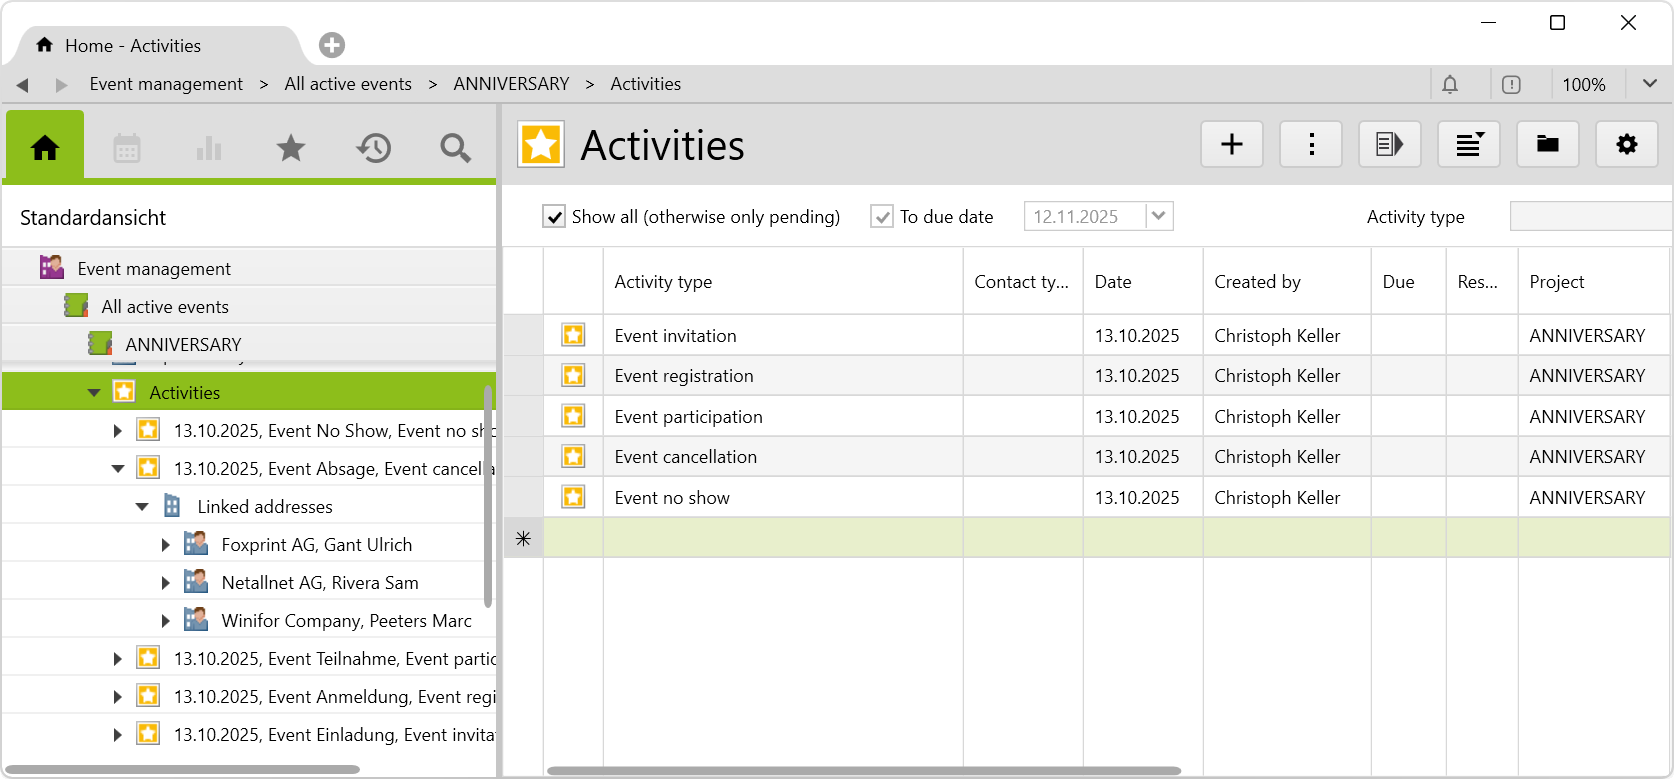
Another way to assign contacts is to select the following activity types. Usually, you create an activity for the invitation first:
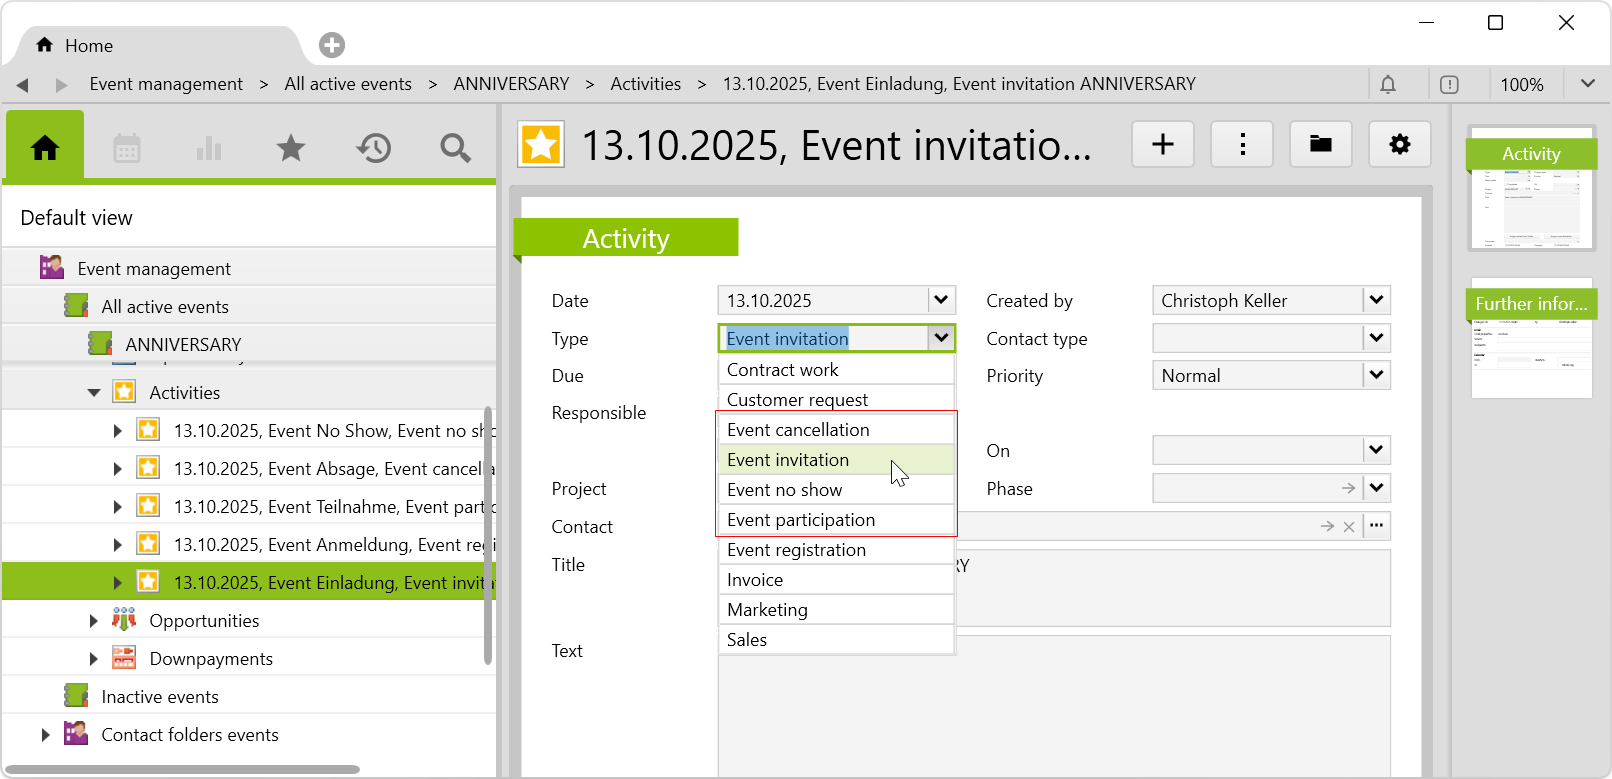
Addresses can be assigned to this activity, which appear as event contacts. There is a two-way synchronization:
Note: For activities related to events, the project or type should not be changed. If necessary, a new activity must be created.
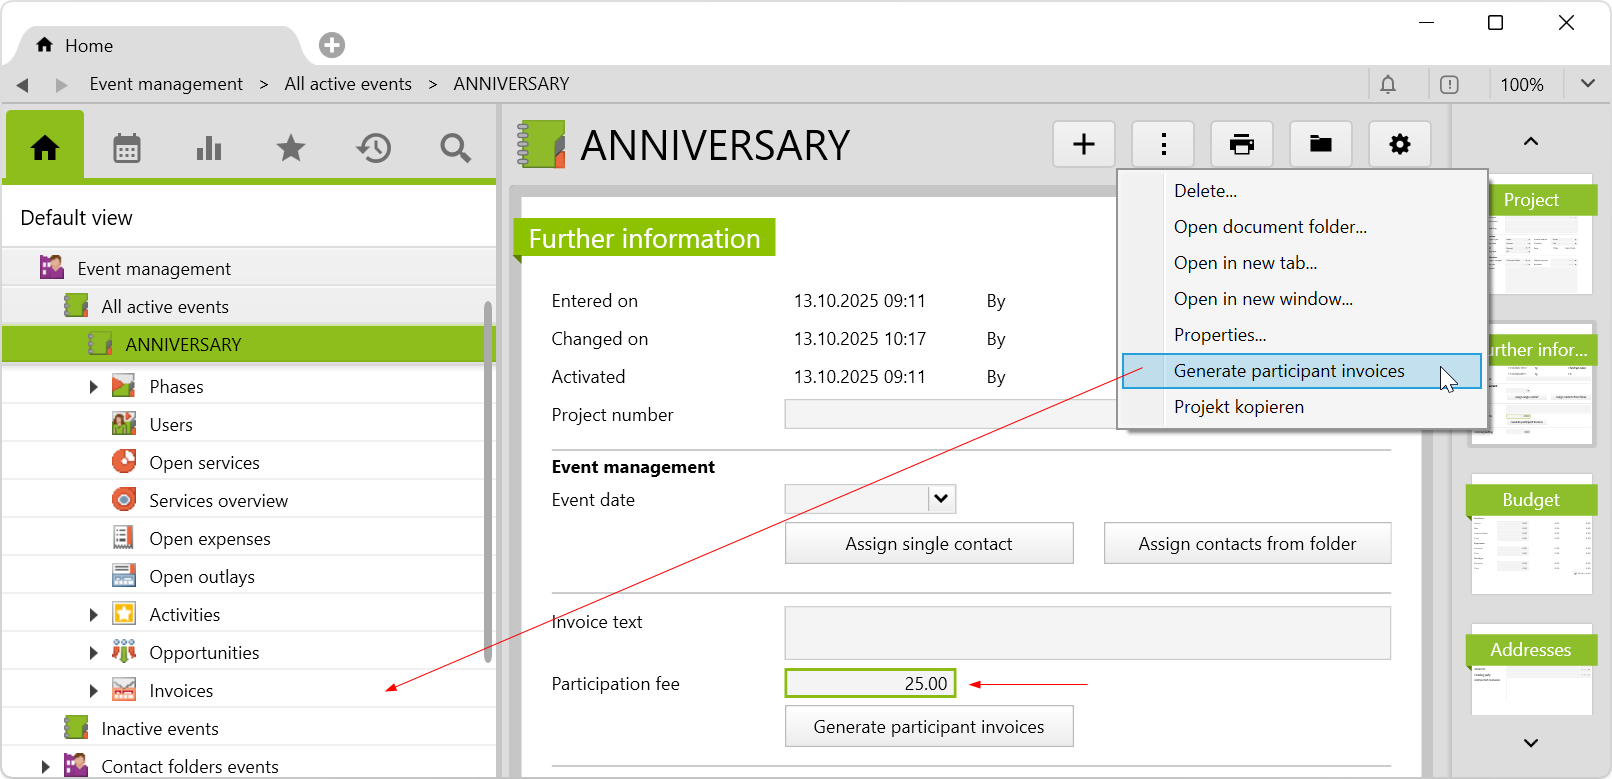
If a participation fee is required, you can enter it on the project on the Further information page and, optionally, you can add an invoice text. Translation entries can be created for this invoice text, which translate the text on the invoices into the language of the invoice recipient.
Finally, you can charge the invoices via Action > Generate participant invoices.
For each event contact with the Participation status, an invoice and an expense is created. The expense cost is equal to the participation fee; the effective costs are zero due to the contribution margin analysis. Invoices are created in the language of the invoice recipients and charged immediately. If an invoice already exists, no new invoice is created.
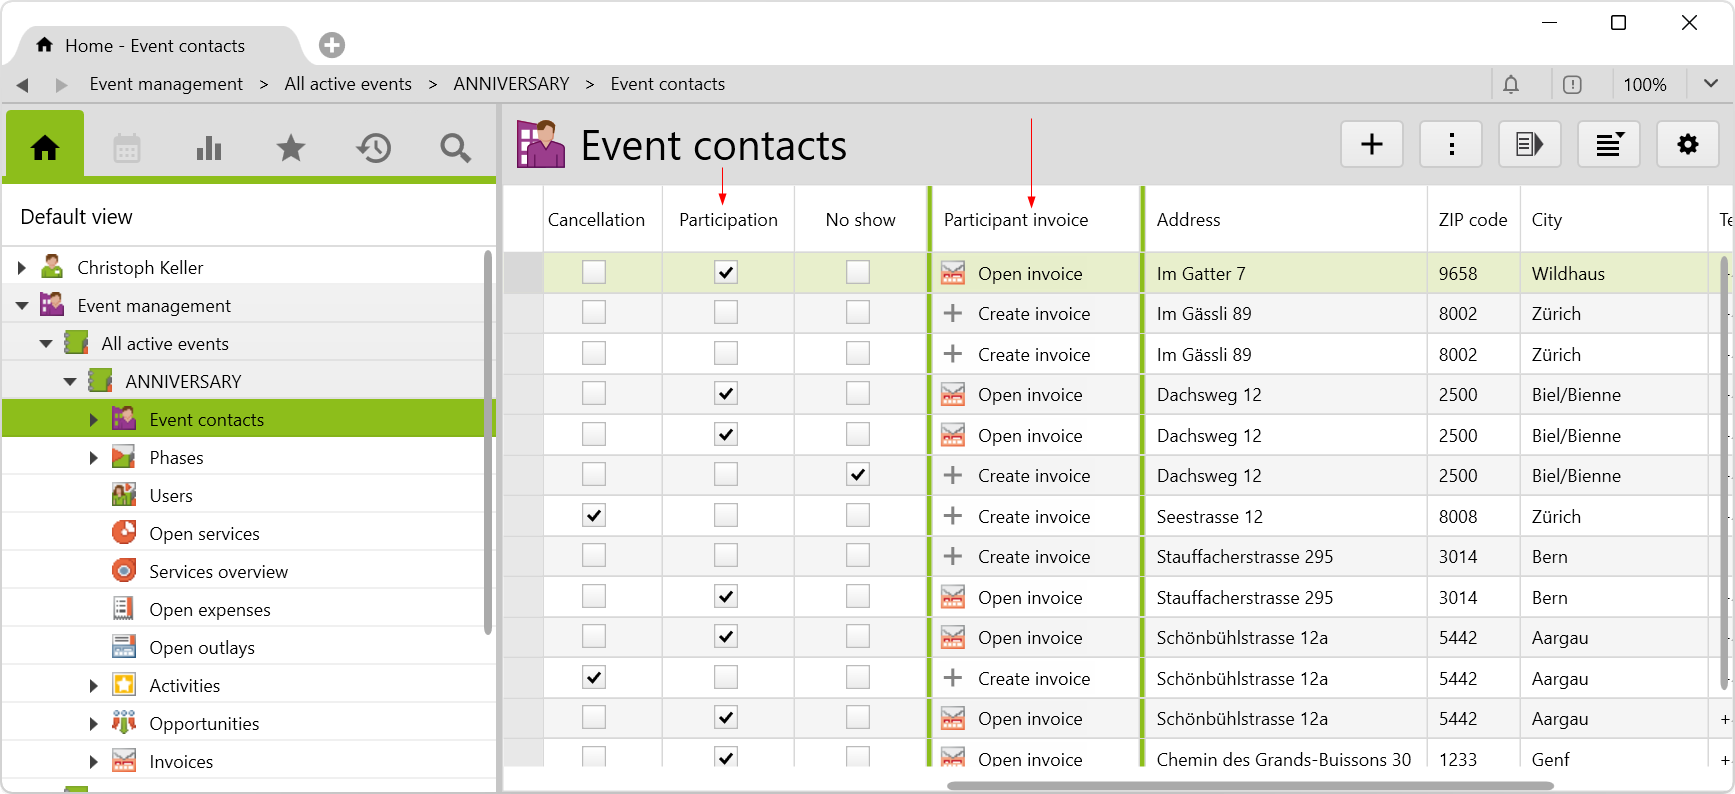
You can open the generated invoice directly in the list by double-clicking on Open invoice:
Note: If you delete an invoice, the expenses will also be deleted automatically.
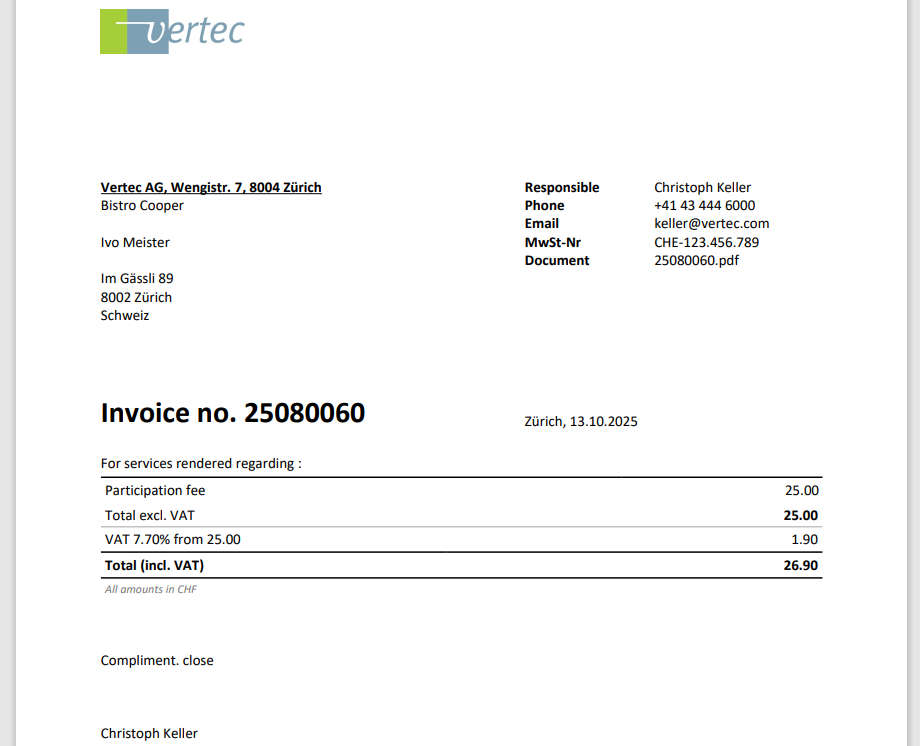
By clicking on Print > Participant invoice, the report of participant invoice opens. If no invoice text was entered for the event, the term “Participation fee” appears on the invoice by default (depending on the language of the invoice recipient):
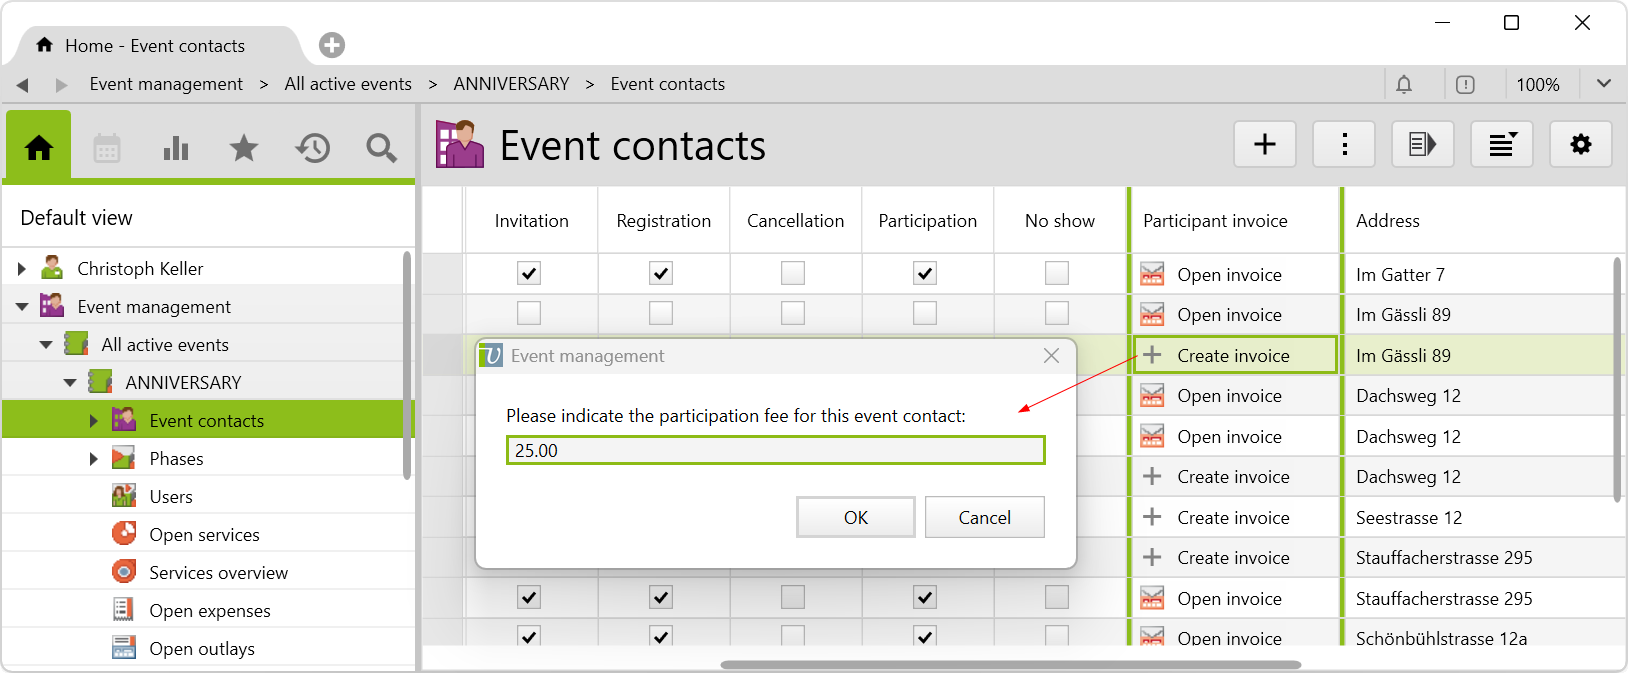
In the event contacts list, individual invoices can be generated by using the button + Create invoice. Optionally, the participation fee entered on the project can be adjusted individually:
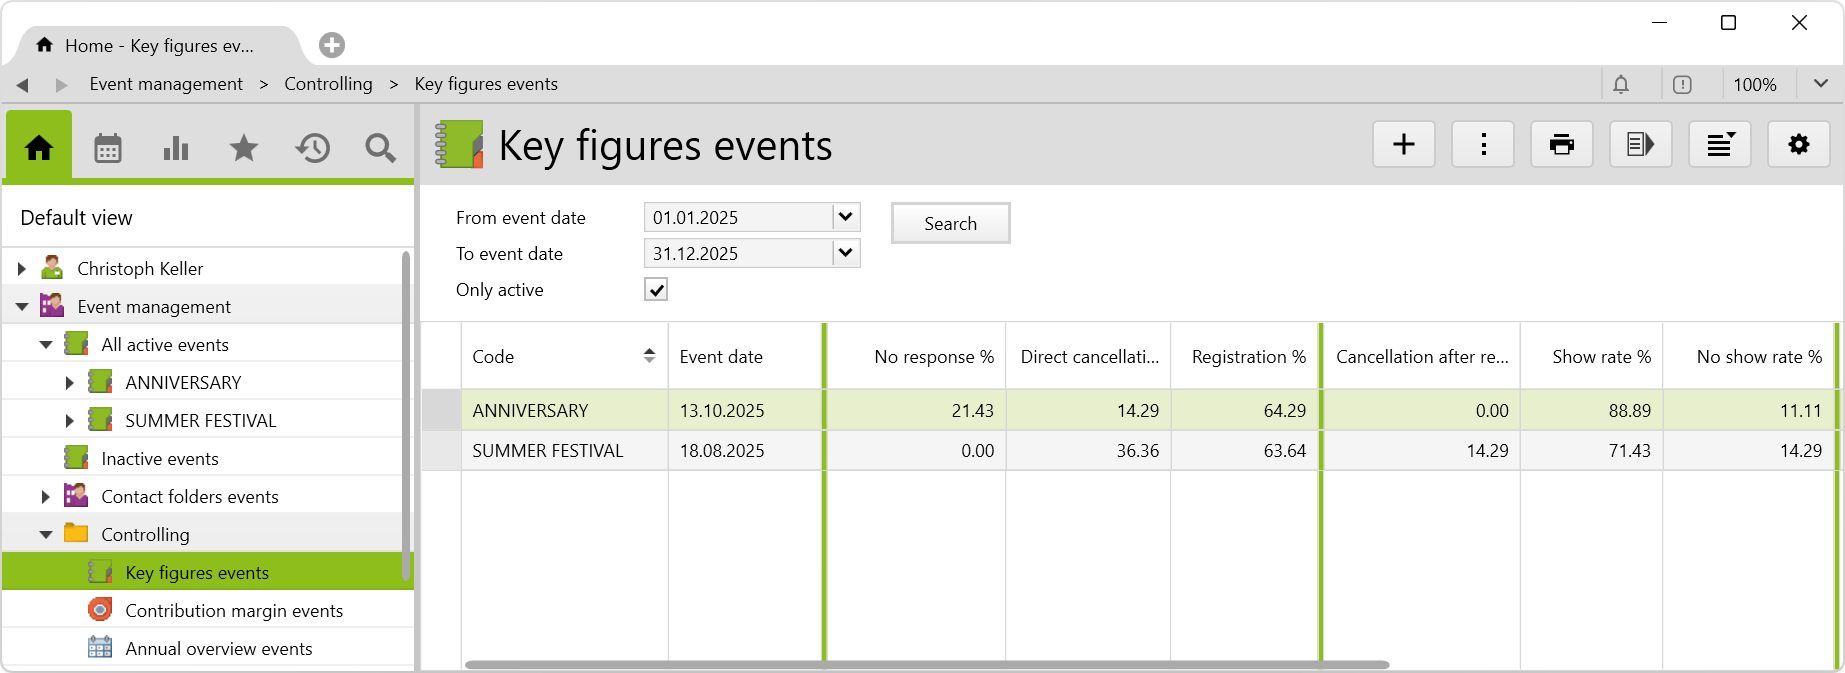
The following queries are available in the Controlling folder:
Key figures events folder, the following statistics of individual events, which can be filtered by date, are calculated and shown in percentages:
Contribution margin events folder, the contribution margin is calculated as follows: Revenue (charged and uncharged services and expenses, including external values) – Cost (cost values of charged and uncharged services and expenses). Cost rates must be maintained for this, e.g. as a cost rate on the user.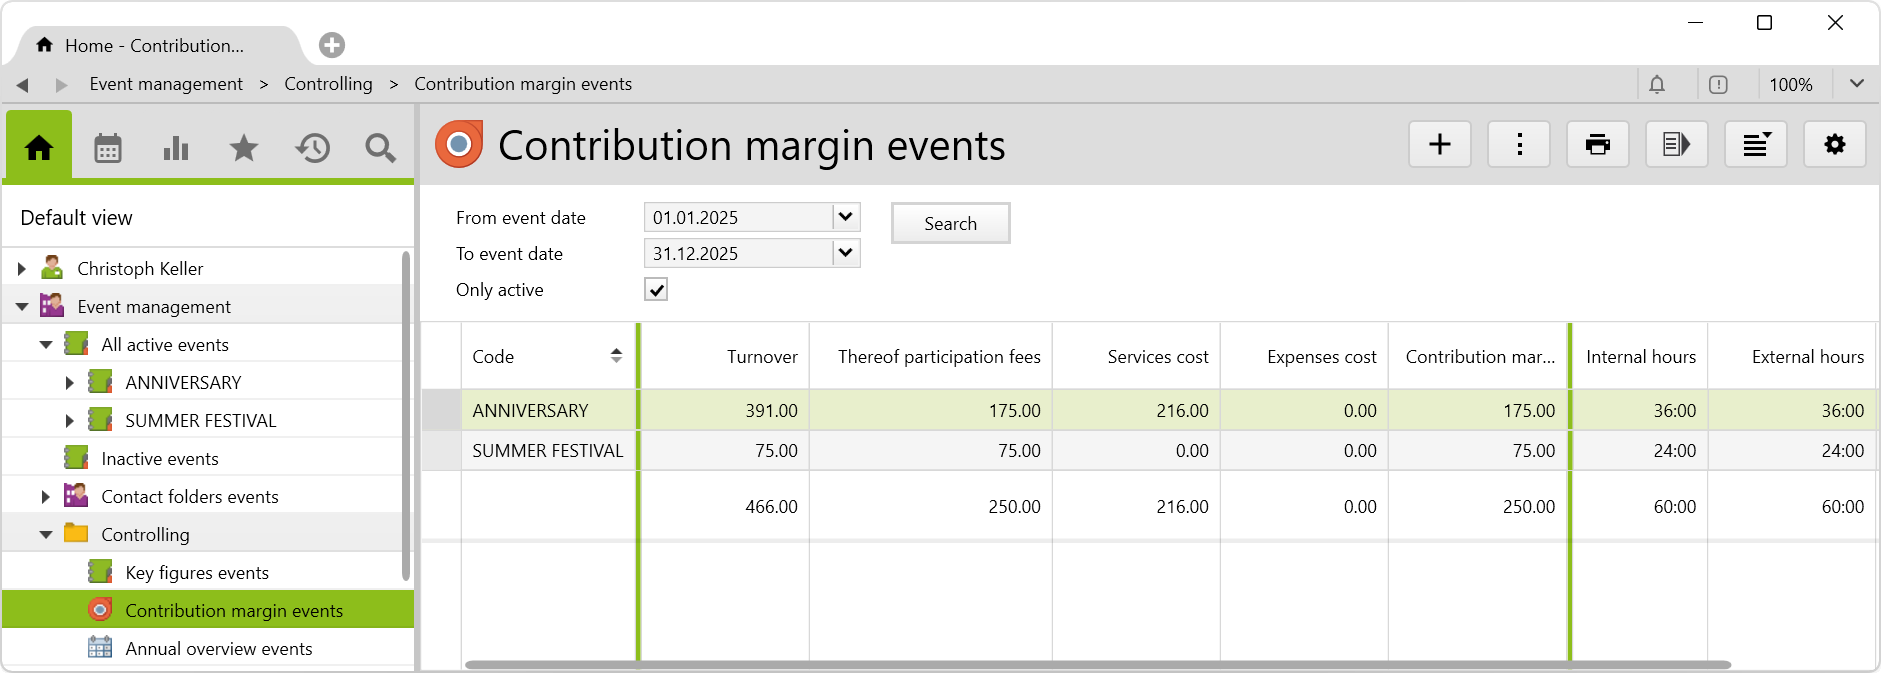
Annual overview events folder, absolute numbers of event contacts of the selected type are shown. The month containing the event date is always highlighted. If there is no event date, the project is not shown.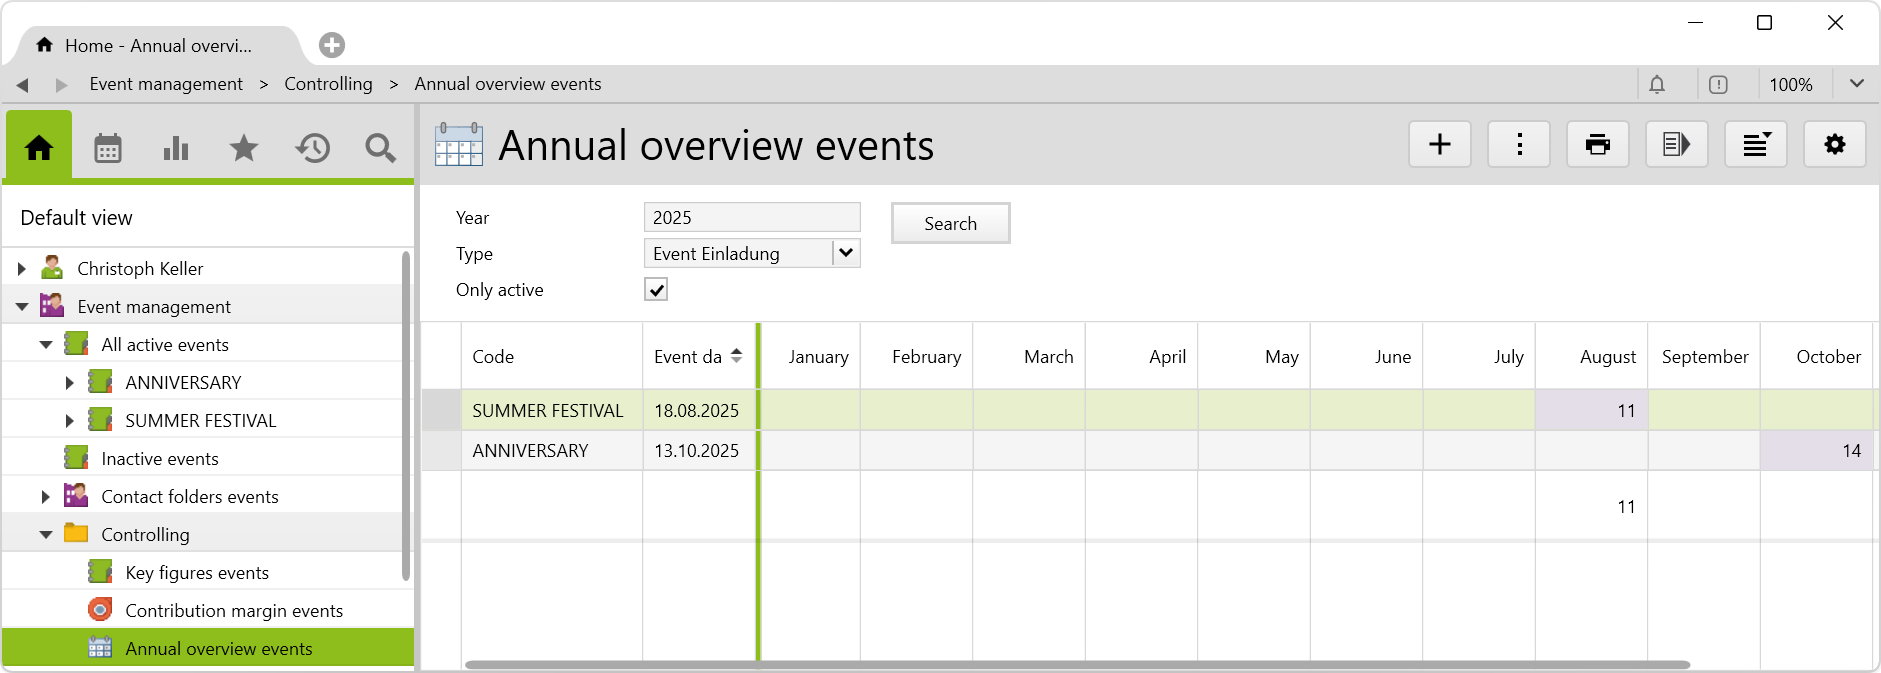
Before importing the config set, we recommend you read the article Key information about the additional features. Config sets modify data in Vertec, which can overwrite existing data.
The exact import process is described in config sets.
You can download the additional feature with the following link:
| Version requirement | Download |
|---|---|
| 6.7.0.17 | ConfigSet_Eventmanagement.xml |